The process
Pick your roof, follow the steps
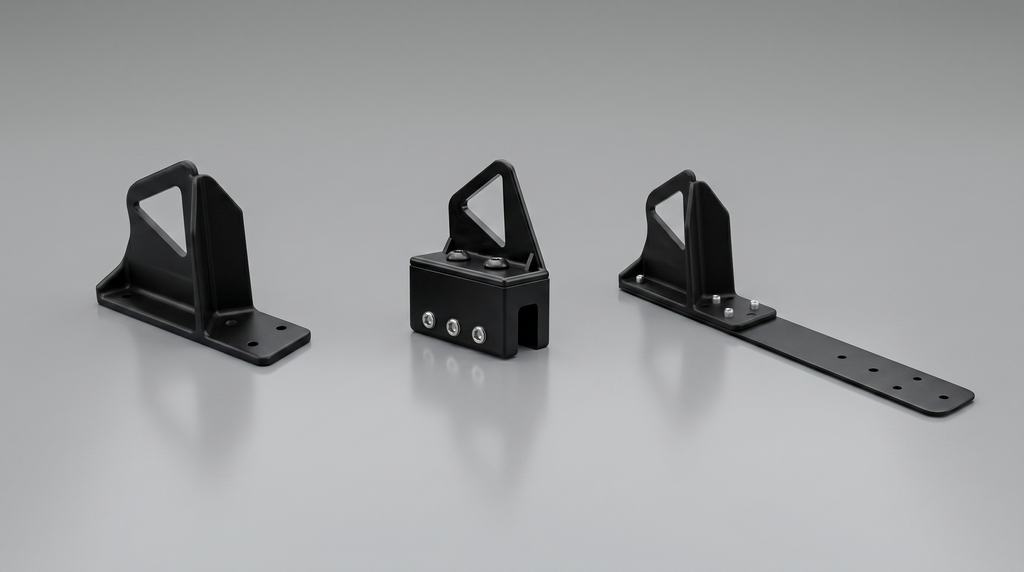
Standing-seam roofs use the non-penetrating Universal Clamp. Exposed-fastener panels use the butyl-sealed Stand with a continuous rail. Everything below uses a chalk line, a tape measure, and a driver.
Universal Clamp — non-penetrating
No holes in the roof. The clamp grips the seam and M10 set screws lock it down — your panel and its warranty stay intact.
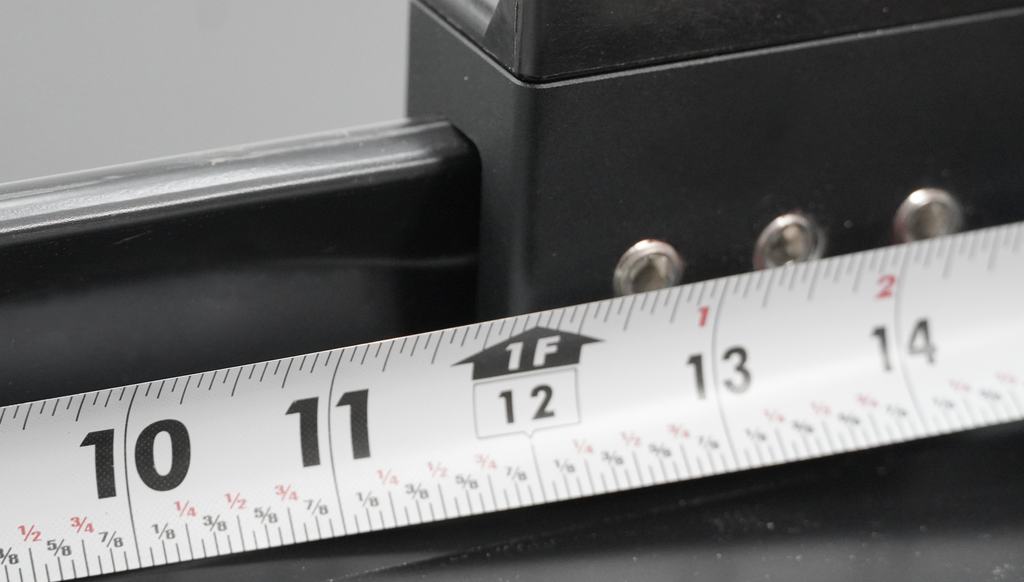
Chalk your first line
Measure 1 ft (12″) up from the eave and set a clamp on the seam at that mark. Mark the roof at the back edge of the clamp, then snap a chalk line straight across the roof from that mark.
For each row behind the first, space it 2–4 ft up-slope (2 ft minimum) and snap another line the same way.
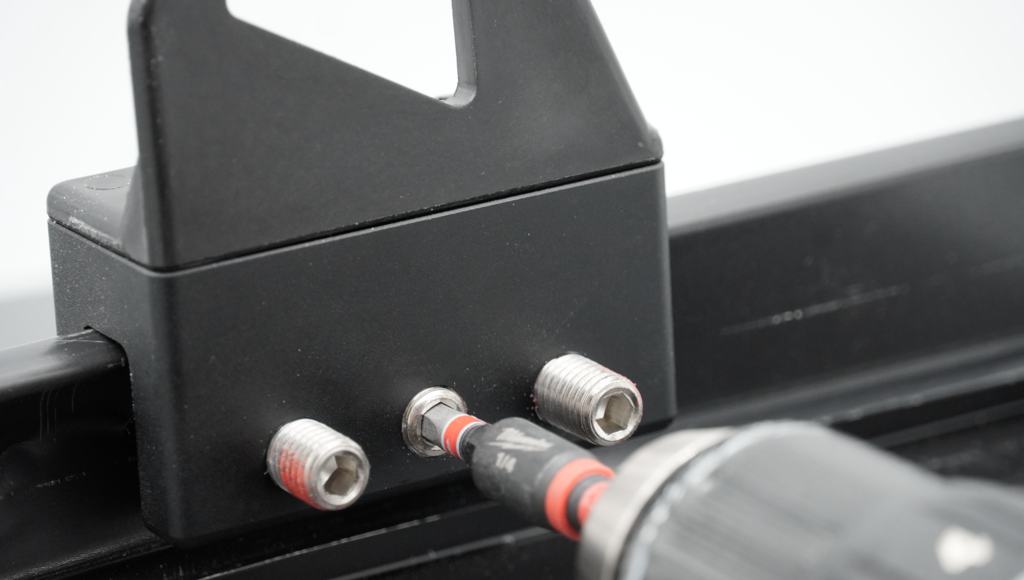
Torque the M10 set screws
Drive the M10 set screws to 130 in-lb in this order — the sequence keeps the clamp seated square:
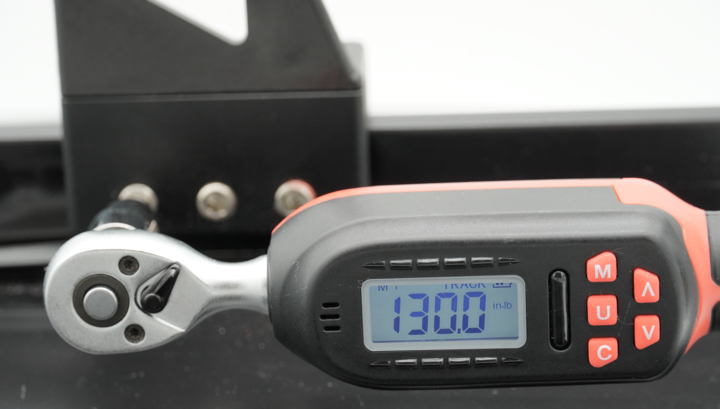
Final check
Once every clamp on the run is set, go back across the roof and confirm each one holds 130 in-lb. That's it — the rail is locked in and ready for snow.
Exposed Fastener Stand — butyl-sealed
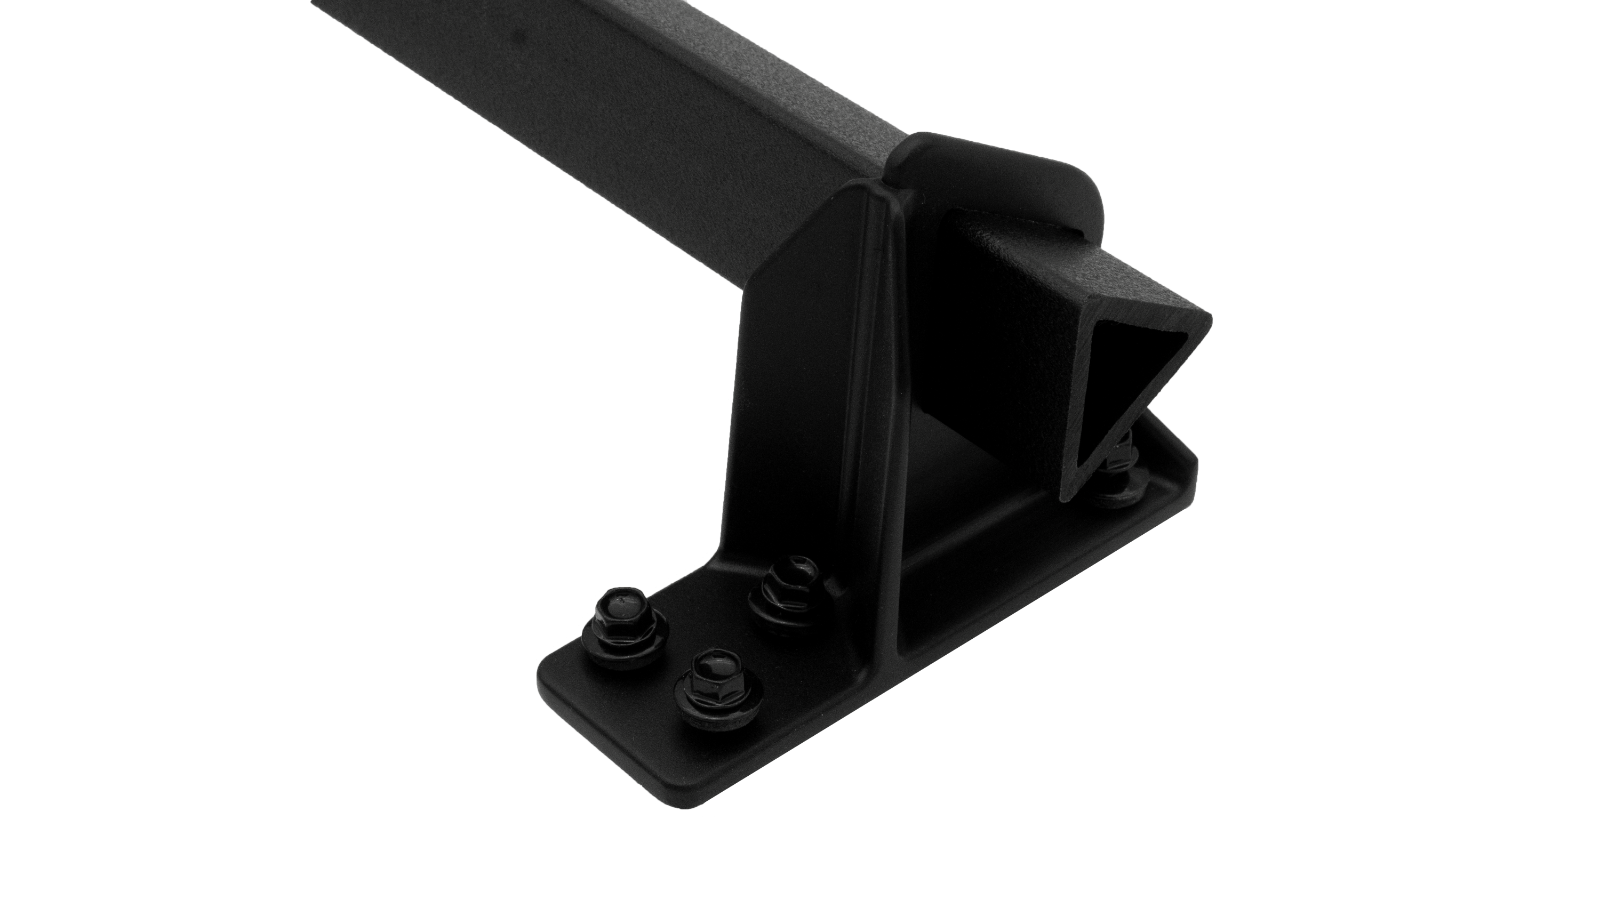
The stand mounts through the panel on a factory butyl seal, then a continuous rail ties the whole run together.
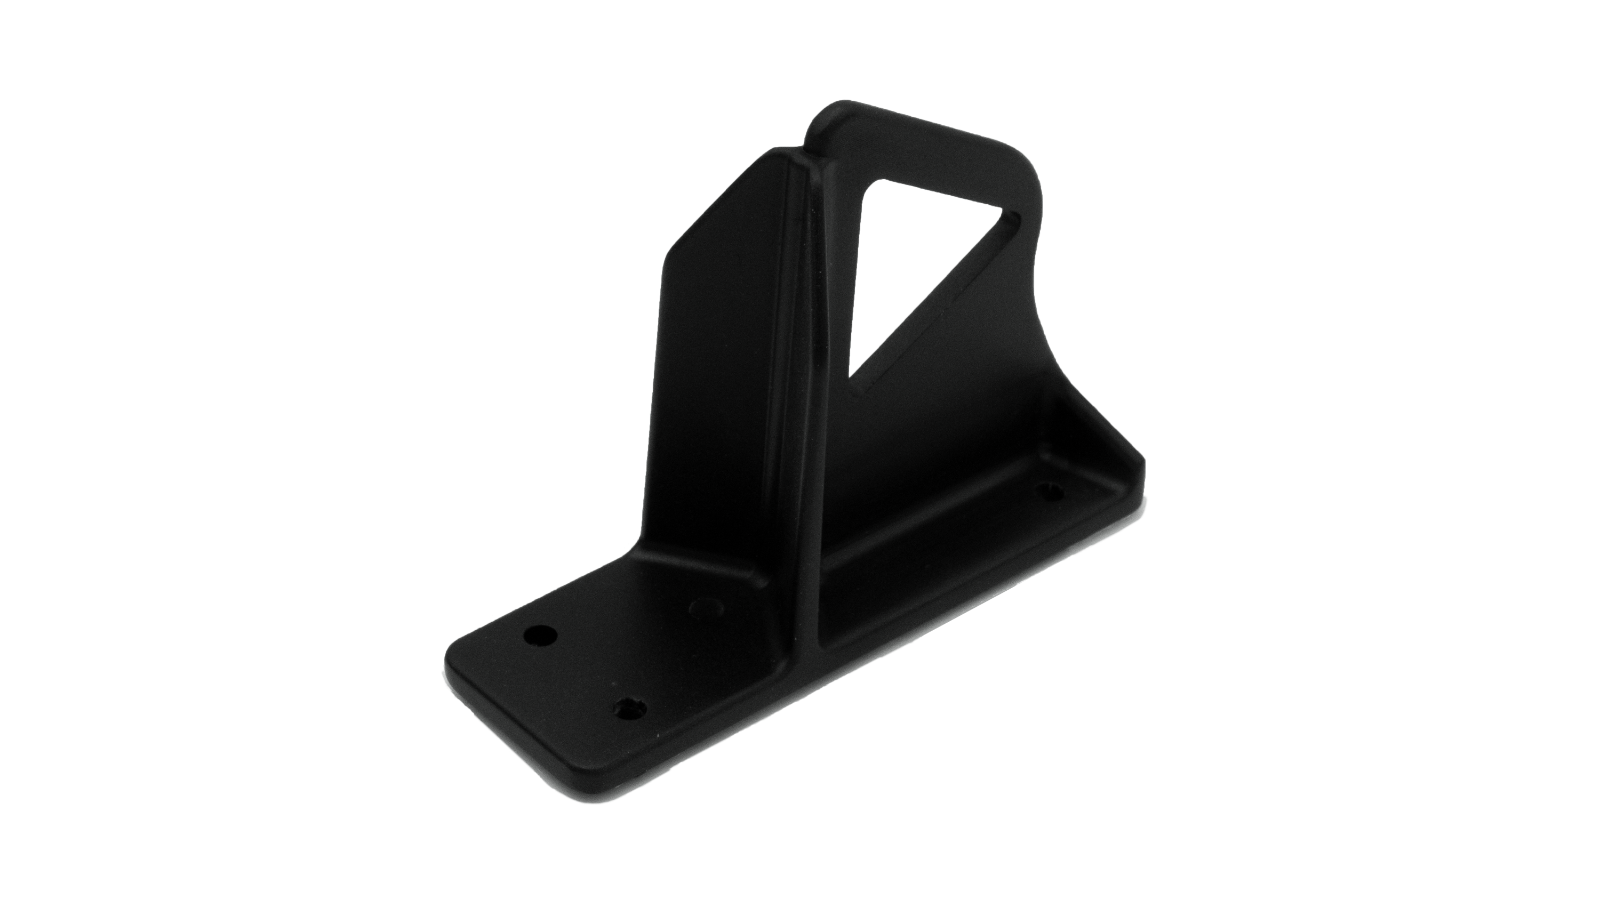
Mark 1 ft from the eave
Measure 1 ft (12″) up from the eave and snap a chalk line across the roof. This is where the front edge of your stands will sit. Add rows up-slope at your calculated spacing.
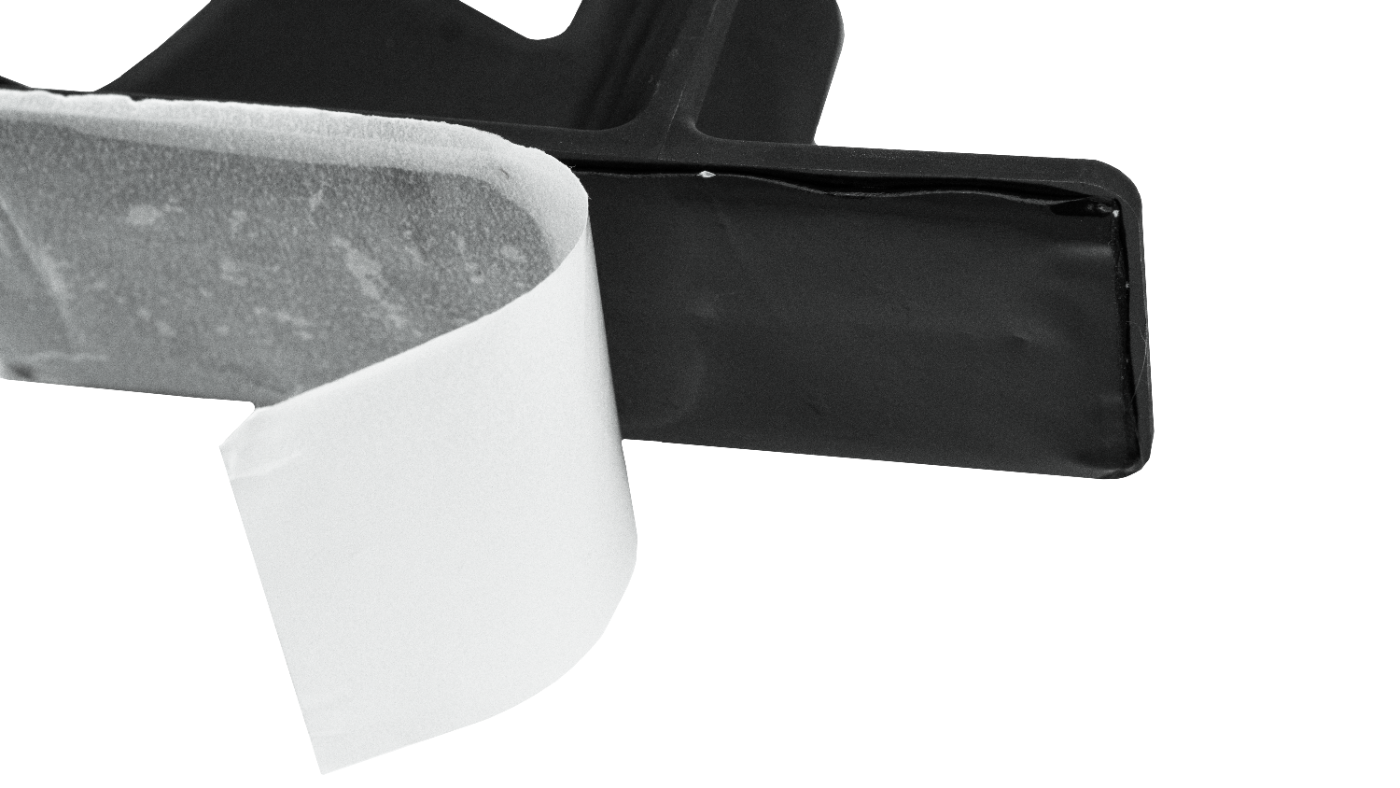
Peel & place on the line
Peel the backing off the factory butyl tape on the base of the stand, then set the stand down on the chalk line. The butyl seals the base to the panel before a single screw goes in.
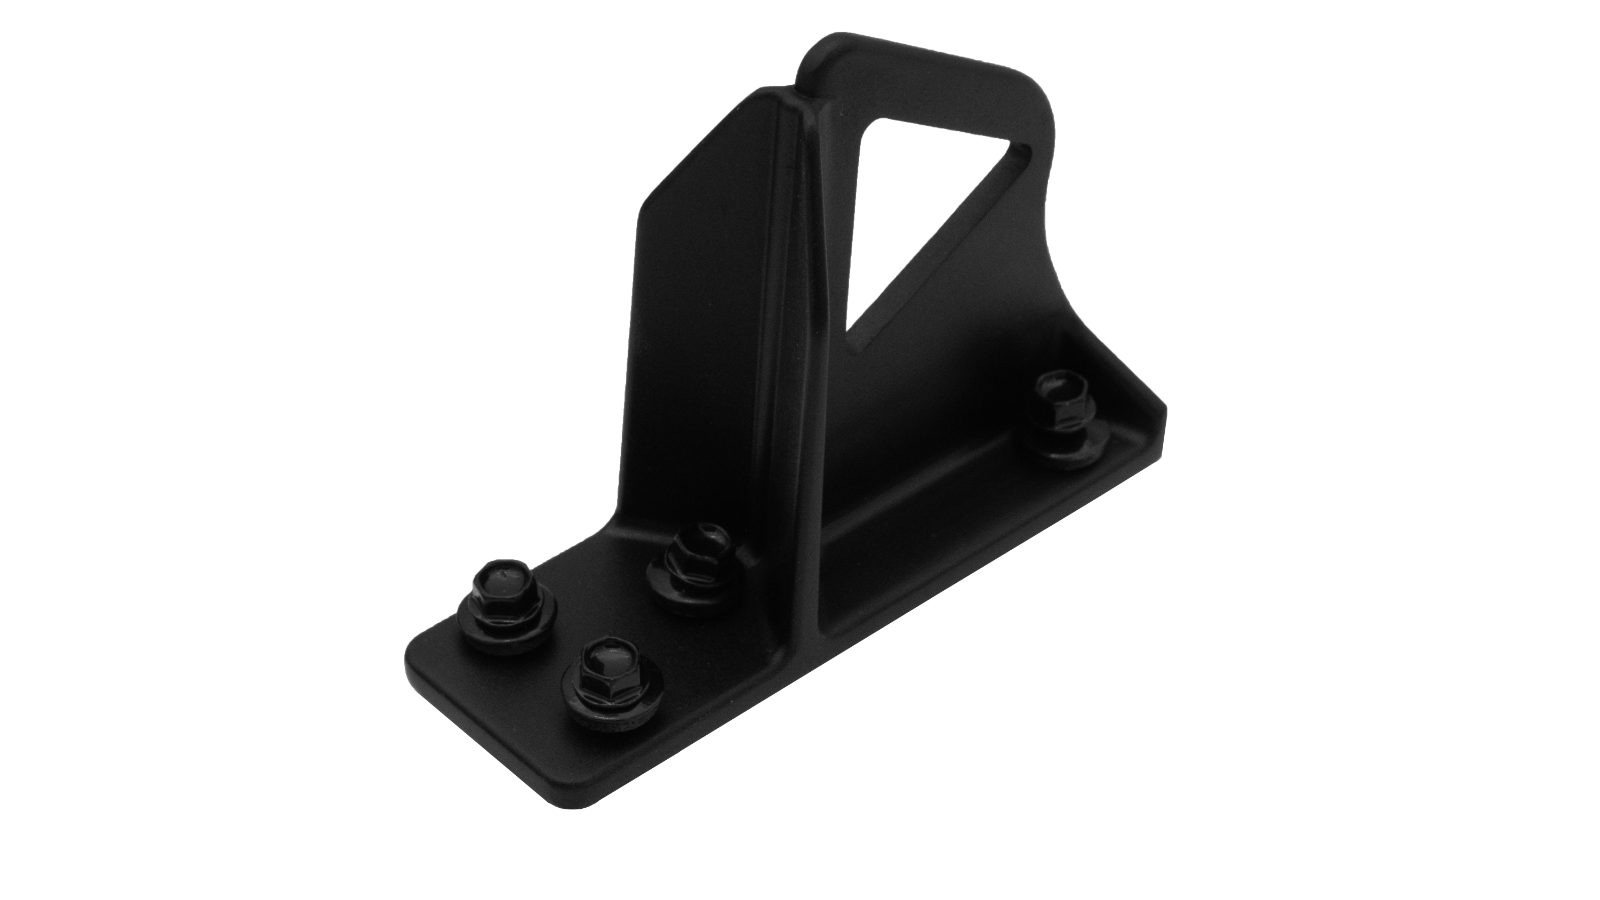
Screw down the stand
Drive screws through the 4 outside holes in the base, through the panel and into the structure, to secure the stand. Repeat for every stand along the line.
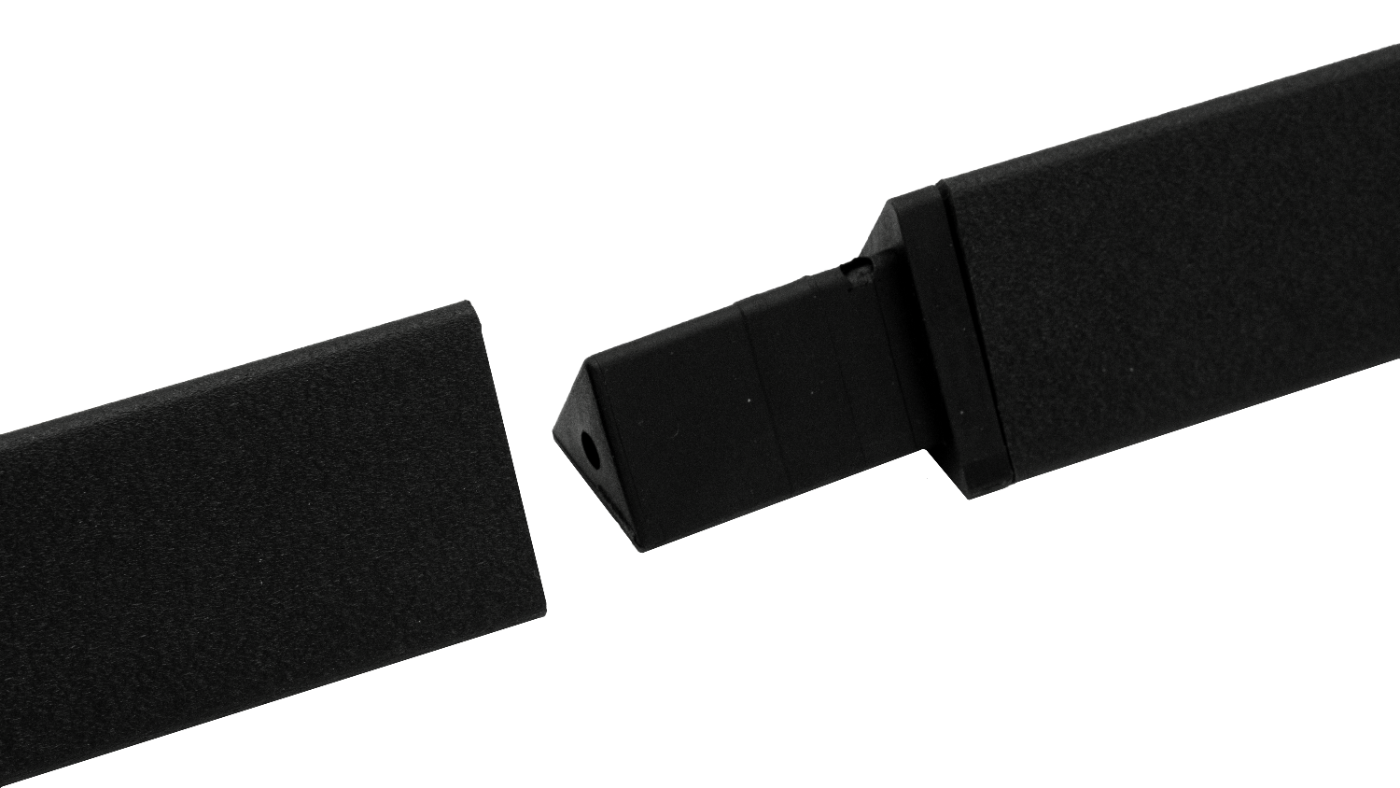
Slide the rail & joiners
Slide the rail into the stands. Where two rails meet, tap a joiner into the ends to link them, and keep going until you reach the end of the run.
Cut to length & cap
Cut the rail so it runs about 1/4″ past the end stand on both ends. Tap an end cap into each end to lock the rail in place — and the run is done.